It starts with a sketch on a designer’s desk. Three weeks later, a soft, stuffed version of that line drawing arrives at a brand’s showroom. What happens in between — the pattern-making, the sampling, the QC, the stitching — is the invisible craft behind every custom plush toy you have ever held. We walked through the workshop floor to watch it happen, from first pencil stroke to final hangtag.
The Pattern Room: Where a Drawing Becomes a Template
Everything begins in the pattern room. A designer receives a customer’s artwork, usually a front-view illustration of an animal or character. The pattern engineer breaks that 2D image into a set of fabric pieces: two sides, a belly, four limbs, a head panel. Each piece gets a paper template, and the first sample is sewn by hand. This is the moment where a drawing either “works” as a toy or does not. If the proportions look off, the pattern is redrawn — sometimes three times — before the customer sees a single stitched prototype. The plush toy manufacturing process lives or dies on this first step.
The Sample Stage: When the Toy Learns to Sit
The first sample is almost never right. It might sit too far forward, or its arms might not reach the floor. The production team adjusts the seam allowance, shifts the ear placement by three millimeters, and sends photos back to the customer. This dialogue — send, adjust, resend — usually runs two to four rounds. Buyers who understand this cycle are the happiest ones; buyers who expect a perfect first sample are not. Patience here saves weeks later in production.
Cutting and Sewing: The Assembly Line
Once the sample is approved, the order moves to the cutting room. Fabric rolls are laid flat and die-cut into the approved templates. Skilled seamstresses sew the pieces into an inside-out shell, leaving a small turning hole. The shell is flipped right-side-out, hand-stuffed with PP cotton through that hole, then ladder-stitched closed. Details like embroidered noses, plastic safety eyes, and felt paw pads are applied before final assembly. A single 20 cm bear passes through roughly 14 pairs of hands before it is finished.
QC and the Final Inspection
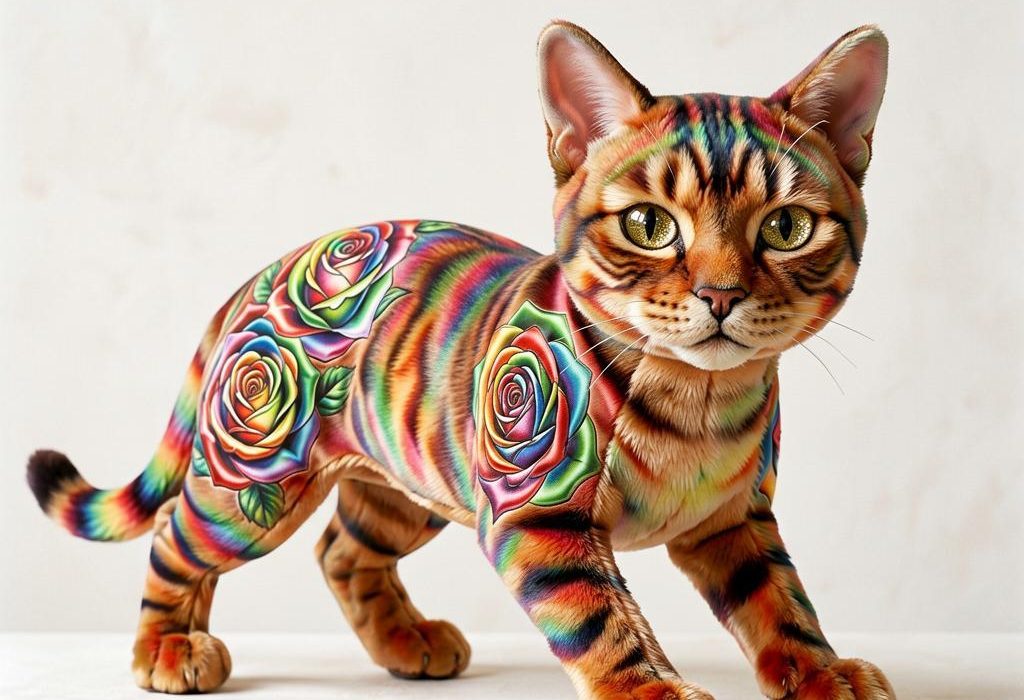
No toy leaves the floor without a quality-control pass. Inspectors tug every eye and nose, check seams for loose threads, weigh the stuffing for consistency, and test that the toy sits upright. Anything failing is set aside. For export orders, samples are pulled and sent to independent labs for EN71, ASTM F963, and CPSIA testing. It is slow, unglamorous work, but it is the reason a child’s plush survives years of bedtime hugs. The Rainbow Bengal Cat we inspected on the line that morning had passed all three tests before the box was even taped shut.
The Hangtag and the Finish
The last step is what customers actually see. A woven neck label, a custom hangtag tied with ribbon, a polybag or retail box. A toy that is perfect inside can still feel cheap if its hangtag looks generic. We spend as much time advising brands on label design as on fabric choice, because the finish is the first impression. When the sealed carton leaves the warehouse and lands on a shelf somewhere in Europe or North America, that is when the journey from sketch to shelf is finally complete.
The next time you pick up a plush, remember the invisible team behind it — the pattern engineer, the sample maker, the seamstress, the QC inspector. They are why a soft toy feels like a friend. You can start your own custom project with our ODM plush team today.
 EN
EN  AR
AR  DE
DE  ES
ES  FR
FR  IT
IT  RU
RU  PL
PL  CS
CS  NL
NL  FI
FI  HU
HU
Leave a Message
Have questions about this article? Leave us a message and our team will get back to you.